
Change Candidate Status
Changing a candidate's status is an essential part of the hiring process, enabling hiring teams to accurately reflect a candidate's progress. This page provides guidance on rejecting candidates and marking them as withdrawn, ensuring clarity and effective communication throughout the process.
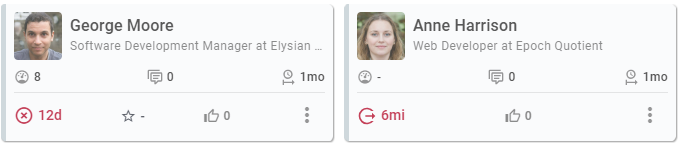
Rejected or withdrawn candidates are not removed from the pipeline or moved to an additional stage; they remain in their last stage, but their cards appear faded and are listed at the bottom of the column. The Candidate Status Icon will be red, reflecting the status. Hover over the icon to view details about the reason for rejection or withdrawal. The image below illustrates a rejected candidate on the left and a withdrawn candidate on the right.
Rejecting Candidates
Rejecting a candidate can be necessary for various reasons, such as not meeting qualifications, lack of cultural fit, or performance during assessments. It's important to handle rejections professionally and considerately.
Auto Rejections
When using pre-qualification questions in your application form, you can configure auto-rejection settings. If a candidate fails to meet the minimum criteria established in these questions, the system can automatically change their status to "Rejected." This feature streamlines the process and allows your team to focus on qualified candidates.
Manually Rejecting Candidates
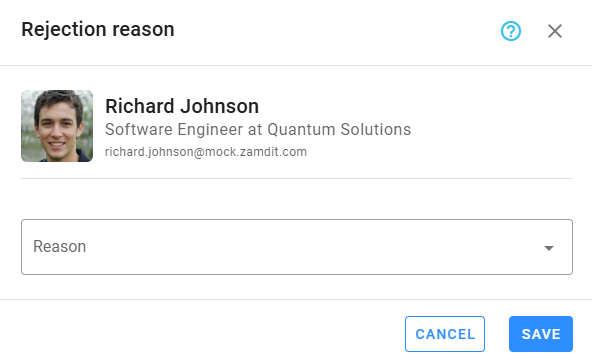
To manually reject a candidate, click the "Reject..." option on the Candidate Card or in the Candidate Details View actions menu. This action will open a popup menu prompting you to provide a reason for the rejection. Select one of the available options, or choose "Other" to provide additional details.
Notifying Rejections
Upon rejecting a candidate, the system can automatically send a notification informing them of their status change. Alternatively, you may choose to send a manual email to provide a more personalized message. Consider including key points regarding their application and encouraging them to apply for future opportunities.
Automated rejection notification emails can be configured based on the stage, allowing for different email templates for each stage. When active, the corresponding column will display the Rejection Notification icon on the heading.
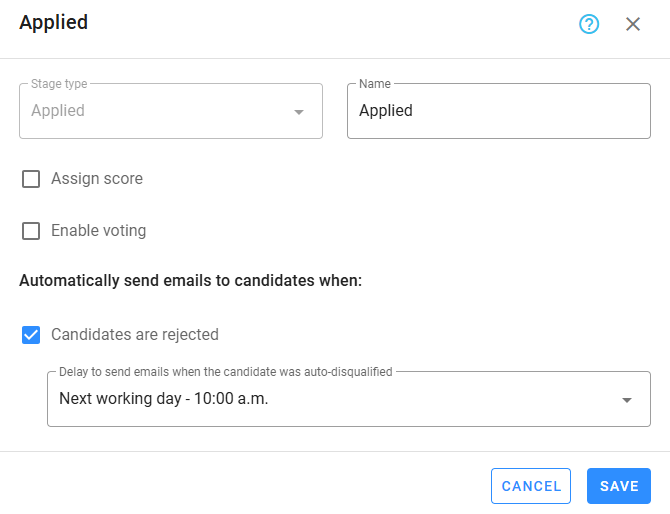
For auto-rejections, you can customize specific email templates for these notifications. If emails are sent automatically, you can also select an option for a delay, so candidates don’t receive the email immediately after applying. This setting is configured when setting up the stage in the pipeline.
Reverting Rejections
If a candidate's status has been incorrectly changed to rejected, you can revert this action by selecting "Undo Rejection." Ensure that the hiring team is aware of this change and the reasons behind it, as clear communication is essential to maintaining transparency in the hiring process. If a notification email was sent to the candidate, you will need to communicate the error by sending a manual follow-up email.
Marking Candidates as Withdrawn
Candidates may choose to withdraw from the hiring process for various personal or professional reasons. To mark a candidate as withdrawn, click the "Change Status to Withdrawn..." option on the Candidate Card or in the Candidate Details View actions menu. This action will open a popup menu prompting you to provide a reason. Select one of the available options, or choose "Other" to provide additional details. Accurately selecting the reason can provide valuable insights for future hiring cycles and help the team understand patterns in candidate decisions.