
Create Your Free Account
Creating an account is free, and you don't need to provide any credit card information. You will have 14 days to test Zamdit before deciding if it's the right solution for your company. By selecting the "Test Data" mode during the setup process, we will pre-populate the system with useful data, allowing you to test most features without having to add data or invite candidates.
Register Your Email Address
The first step is to provide your work email address. As Zamdit is intended for business professionals, we only accept business email addresses; personal email addresses are not permitted.
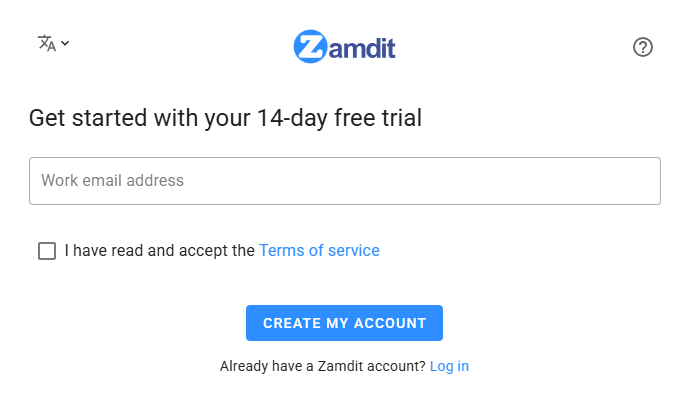
You must read and accept our "Terms of Use" before continuing.
Once you have clicked the button, a message will confirm your journey has started, and you will receive an email with a magic link to set up your account. Please check your spam folder if you don't see our email in your inbox. If necessary, you can request a new email by entering your email address again and clicking the button.
Set Up Your Account
Click the magic link in the email you received to access the form for setting up your account. As you are creating an account for your company, you will be designated as the Account Owner, with specific responsibilities related to account settings and managing the subscription. You can transfer account ownership at any time from the "Team Management" option in the "Account Settings" section.
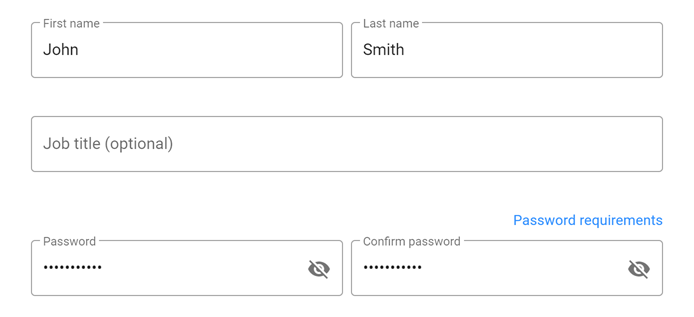
User Account Details
The first fields on the form are for your user account details. You can change all the fields' values later from your Profile.
Company Account Details
The second set of fields is for your company account details. All fields can be updated later in the "My Company" section under "Account Settings", except the "Subdomain for the Career Portal". Please ensure this value is correct before submitting the form.
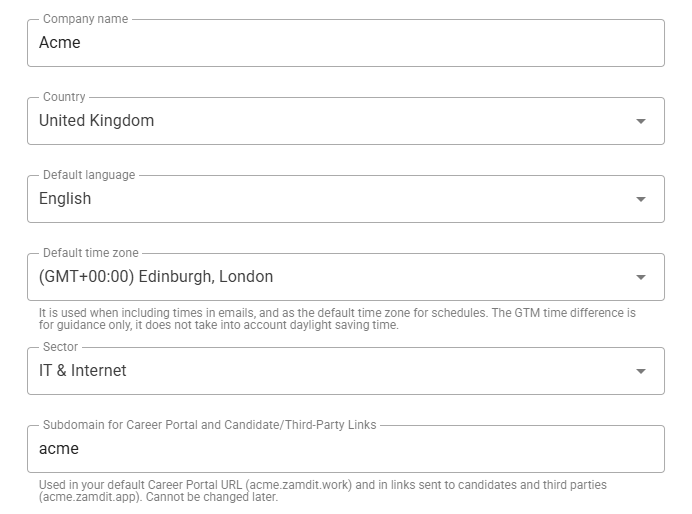
Default Language
This will define the language used for notifications, transactional emails to users, and default templates. You can add templates in other languages if necessary from the "Account Settings" section.
Default Time Zone
This is used when sending emails that include date and time and is also the default time zone for creating schedules.
Company Subdomain
Used in your default Career Portal URL and in links sent to candidates and third parties.
For example, if your subdomain is acme:
- Your Career Portal URL will be https://acme.zamdit.work
- Links sent to candidates and third parties will be under the domain https://acme.zamdit.app
Once you submit the form, this value cannot be changed.
Starting from the Standard plan, you can specify your own custom domain for the Career Portal.
Test Data Mode
The "Test Data" mode, enabled by default, is a great way to test most of the platform's features without needing to add data or invite candidates. If this mode is enabled, when you submit the form, the system will create sample users, departments, recruitment sources, external candidates, candidate tags, custom tests, jobs, a progress board with emails, tasks, events, and more. This will allow you to easily interact with Zamdit and assess if it's the right fit for your company. Once you are ready to start using the platform with real data, you must disable this mode, which will delete all test data.

Subscription Plan
By default, the Basic plan is selected. You can choose any other plan, which can be upgraded or downgraded later from the "Plan & Billing" section in "Account Settings". Selecting the appropriate plan during the trial period will allow you to test the features you may use once you set up your subscription.
There are two billing cycles: "Monthly" and "Annually". You can also select the currency you will use for payment. There is a 16.7% discount when you pay annually.

Click here to learn more about the plans and decide which one is best for your company.
Submit the Form
Once you have filled in all the required fields, click the "Set Up My Account" button to complete the process. If "Test Data" mode is enabled, this may take about a minute.
After the setup is complete, you will be ready to start using Zamdit. The confirmation message will include a button to redirect you to the "Log In" page, where you can use your email address and password as your credentials.